Tactics
The Importance of Patterning Your Turkey Gun
March 18, 2026 •Doug Howlett
March 2, 2026
Brad Fenson
A European skull mount is a classic way to display your trophy. It highlights the antlers or horns while keeping a clean, natural look. It is also much more affordable than a full taxidermy mount and can be done at home with a few simple tools and a bit of patience.
In Europe, skulls are often cut flat through the eye sockets and mounted on a wooden plaque. In North America, most hunters prefer the complete skull with the lower jaw removed, which can be hung on a wall or placed on a shelf using a bracket such as a Skull Hooker.
Follow these steps to make your own European mount that you can proudly display.
Make a cut starting from the back of the skull, where it was removed from the neck, up between the antlers. Use the tip of your knife to slice upward through the skin to avoid cutting through the hair. Make a “V” cut toward the base of each antler. From the skin side, carefully cut around each pedicel until all hide and hair are removed. A flat screwdriver helps lift the skin in tight spots around the antlers. Skin the face, working around the eyes, mouth, and nose. Cut through the gums inside the mouth to free the hide, then remove the nose cartilage to release the last bit of skin.
The jaw is held in place by strong muscles and ligaments. Cut away the muscle until the jaw opens fully. Once it is loose, push it down and back to tear the remaining tissue that connects it to the skull. Work slowly, and you will start to see how the muscles fit together.
Use a sharp knife or scalpel to cut as close to the bone as possible. Remove all muscle and gristle to expose the skull. Cutting at a shallow angle helps avoid gouging the bone.
Insert the tip of your knife around the base of each eye and cut in a circular motion. As the eye loosens, pull gently to give yourself more room to work the knife deeper into the socket.
Bend a wire coat hanger into a hook and insert it through the hole at the back of the skull where the spine was attached. Twist and stir the wire around to break up the brain tissue. You can also attach the wire to a drill to make the job easier.
Before boiling, wrap the antler bases tightly with plastic wrap and foil to protect their color. Use electrical tape to hold everything in place. If possible, position the skull so the antlers stay above the water during the boil.
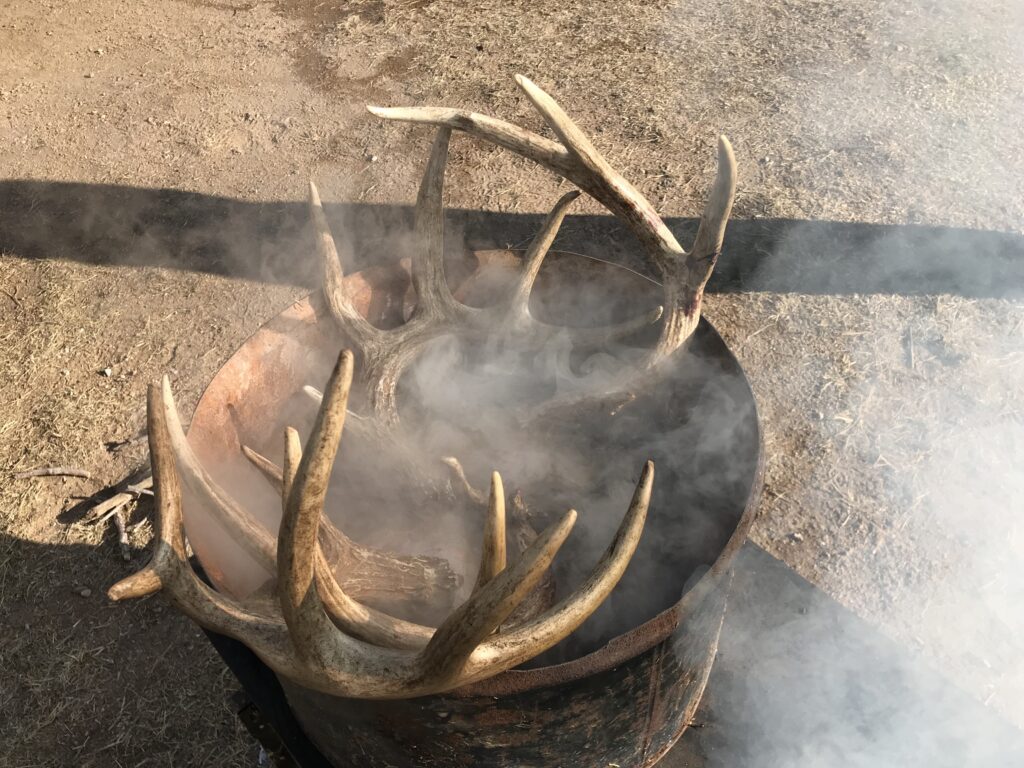
Add about one-quarter cup of sodium carbonate for each gallon of water. The chemical helps loosen flesh and grease when boiling a skull for your mount. Brad Fenson Photo
Place the skull in a large metal pot or bucket. Add enough water to cover the skull completely, but keep the antler bases out of the water. Bring the water to a boil and then reduce it to a gentle simmer. Add about one-quarter cup of sodium carbonate for each gallon of water. This chemical helps loosen flesh and grease. If you don’t have sodium carbonate, you can use baking soda with a small amount of dish soap. Let the skull simmer for about 45 minutes, checking to make sure water does not evaporate too much.
Remove the skull and let it cool until you can handle it. Use your knife to scrape away all loose tissue. After boiling, the meat and tendons will be soft and gelatinous, making them easy to remove. Shake out any remaining brain matter using your wire hook. A stiff nylon brush works well for final cleaning.
If you have access to a pressure washer, use it to remove any leftover tissue. Wear rain gear, gloves, and goggles to protect yourself from splatter. Start with low pressure to avoid damaging delicate bones, then increase as needed. Work from all angles to reach tight areas such as around the teeth, eye sockets, and nasal passages. Any leftover tissue can cause odor later, so be thorough.
Once the skull is clean and dry, you can whiten it for a brighter finish. Mix a whitening powder such as “Basic White” with 40 percent hydrogen peroxide. Brush the paste onto the skull, then wrap it in clear plastic wrap to keep it moist. Let it sit for 24 hours. Afterward, remove the wrap and brush off the dried residue to reveal a clean, white skull. Avoid getting peroxide on the antlers to preserve their natural color.
Let the skull dry completely. You can glue any teeth back in place if they came loose during boiling. Decide whether you want to hang your mount on a plaque, use a metal bracket, or display it on a table.
Boil outdoors on a camp stove or propane burner. The process has a strong smell.
Be patient. Let the simmering process do most of the work.
Each skull you clean will teach you something new, and with practice, you will become faster and more efficient.
January 9, 2026 •Guest Contributor
December 17, 2025 •iSportsman Staff