Tactics
National Deer Association’s 5 Top Tips for Late-Season Deer Hunting
December 17, 2025 •iSportsman Staff
August 2, 2024
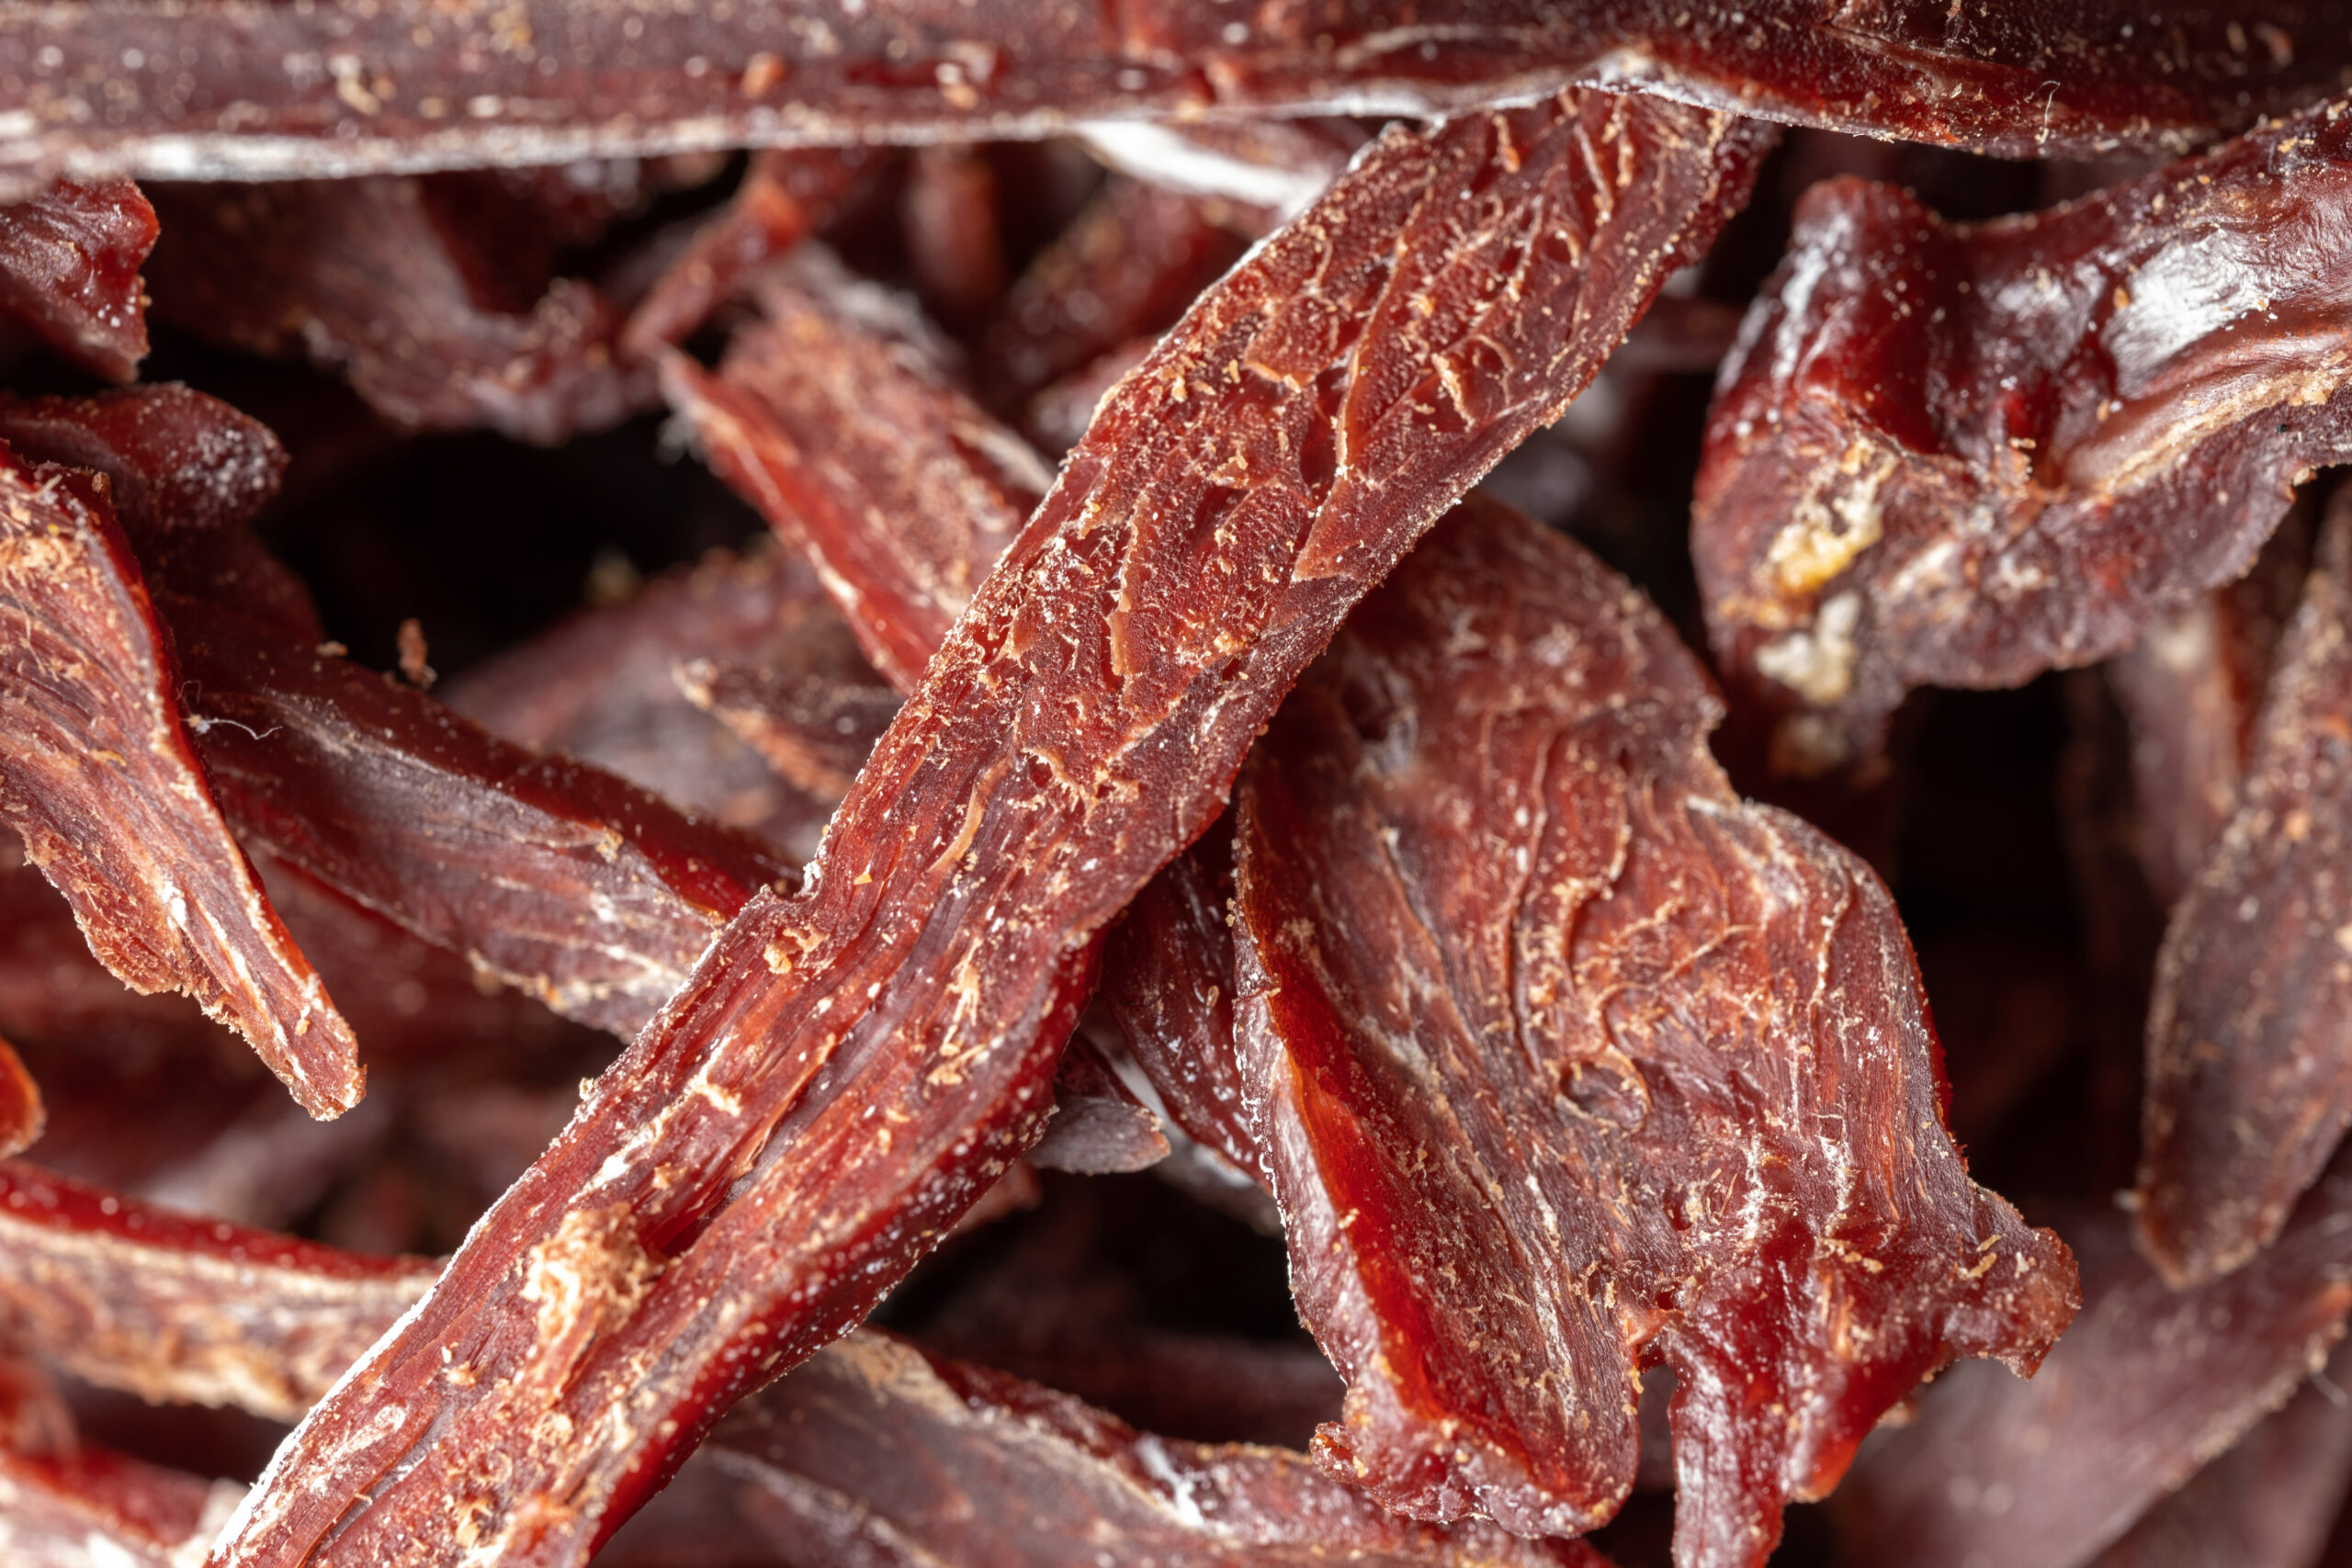
It’s finally August! Which means either deer season has already started for you, or it kicks off in just a few short weeks. Whether you’re planning ahead for the end of fall season or clearing out meat from the bottom of the freezer, we’re bringing you our best tips for making venison jerky in a dehydrator!
I bought my dehydrator a few years ago when my husband and I first got married and he brought home a doe from his hometown in northern Pennsylvania. While it was easy for me (a Virginia Beach native who had — at that time — little exposure to hunting) to cook and enjoy more popular cuts of venison, there was a lot of meat leftover after the backstraps were gone!
Determined to honor the beautiful animal my husband harvested, I brought home the dehydrator and set off to make jerky—only I was young and stubborn, read NO instructions, and figured I could do it successfully on my first go based on intuition alone. Learn from my mistakes and read this quick dehydrator venison jerky 101 crash course I’ve whipped up for you:

There are food dehydrators with a myriad of bells and whistles, but really you only need the basics to get the job done. When choosing your dehydrator, find one with multiple spacious shelves so you can evenly spread out your jerky cuts for proper drying. The Commercial CHEF Food Dehydrator is a well-rated and affordable option that has all the features you will need. Classic dehydrators are also great for drying out other foods! Beyond deer season, I use mine to turn cherry tomatoes into sundried tomatoes in the summer and to dry out basil from our garden for future use.
DAYS. I’m not joking, but most of that time is letting your cuts sit in the brine or marinade. Seasoned jerky makers let their cuts marinate for anywhere between 8-24 hours, and this step is important as it creates the jerky flavor profile and adds the necessary moisture for perfectly chewy jerky. So, start planning your jerky venture a day or so before the actual process.
Take evenly sliced, trimmed venison and place it in an airtight container that is deep enough for the meat to be fully submerged in the marinade. Marinades can be tailored to taste, but here is a classic recipe to get you started:
For around 3-5 pounds of venison mix:
Mix the marinade together in a small pot and place on low heat, stirring consistently until the sugar dissolves. Remove from heat and let cool before covering jerky cuts with the marinade. Then, seal the cuts with the marinade and place in the fridge for at least 8 hours or up to 24 hours.
Once your jerky cuts have had time to marinade, take them out and pat dry with paper towels, placing them evenly on the dehydrator trays. Be careful not to overcrowd your trays, as this will lead to uneven drying and either underdone or overdone jerky.
Once everything is said and done, letting your venison cuts turn into jerky is a simple waiting game. When working with a dehydrator, it’s best to set the heat to medium and check on your jerky at least every one to three hours, rotating the trays (as in, putting the bottom tray on top and the top tray on the bottom) as needed. Dehydrating can have varying factors that make exact timing tricky, such as meat age, cut thickness, the humidity levels of where you live, and the power of your dehydrating machine.
When your jerky begins to resemble store cut jerky in dryness and consistency you can either store it in vacuum sealed bags for future use, or zip-lock bags for near-term use. In my home, tasty snacks such as these don’t last long so our jerky does fine in a zip-lock in the fridge for a few weeks.
