
Tactics
Beat the Wind During Warm-Weather Predator Hunting
June 3, 2026 •iSportsman Staff
April 29, 2024
iSportsman Staff
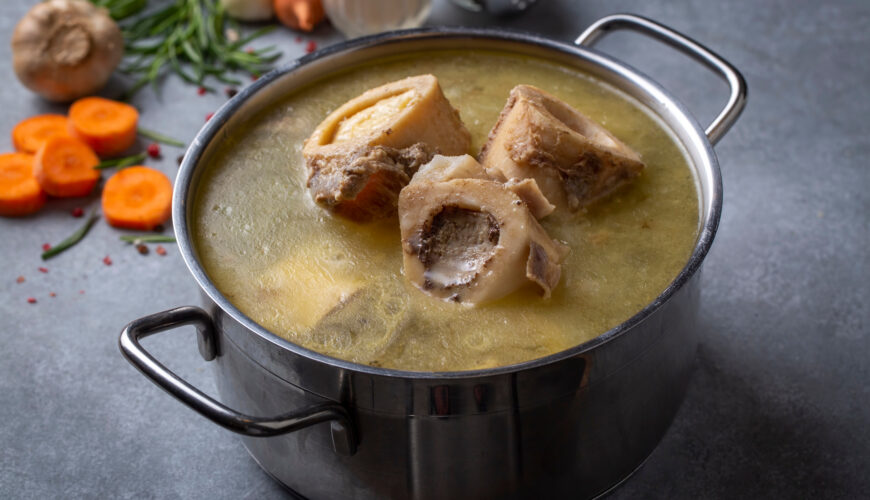
Anyone who enjoys being in the kitchen knows a good broth or stock is the foundation for a multitude of memorable meals. And while most hunters are well versed in turning their game into burgers, sausage, steaks, and more it may be surprising to learn that you’re missing out on one of the most flavorful aspects of any animal: the bone. Wild game bone broth has a deep flavor and a plethora of uses. More importantly, it’s easy to make and good for you too!
We’re assuming if you’re already here you already have bones to work with as that’s the first step. Once you’ve cleaned the meat off for other uses, you have a couple different options to start your broth process.
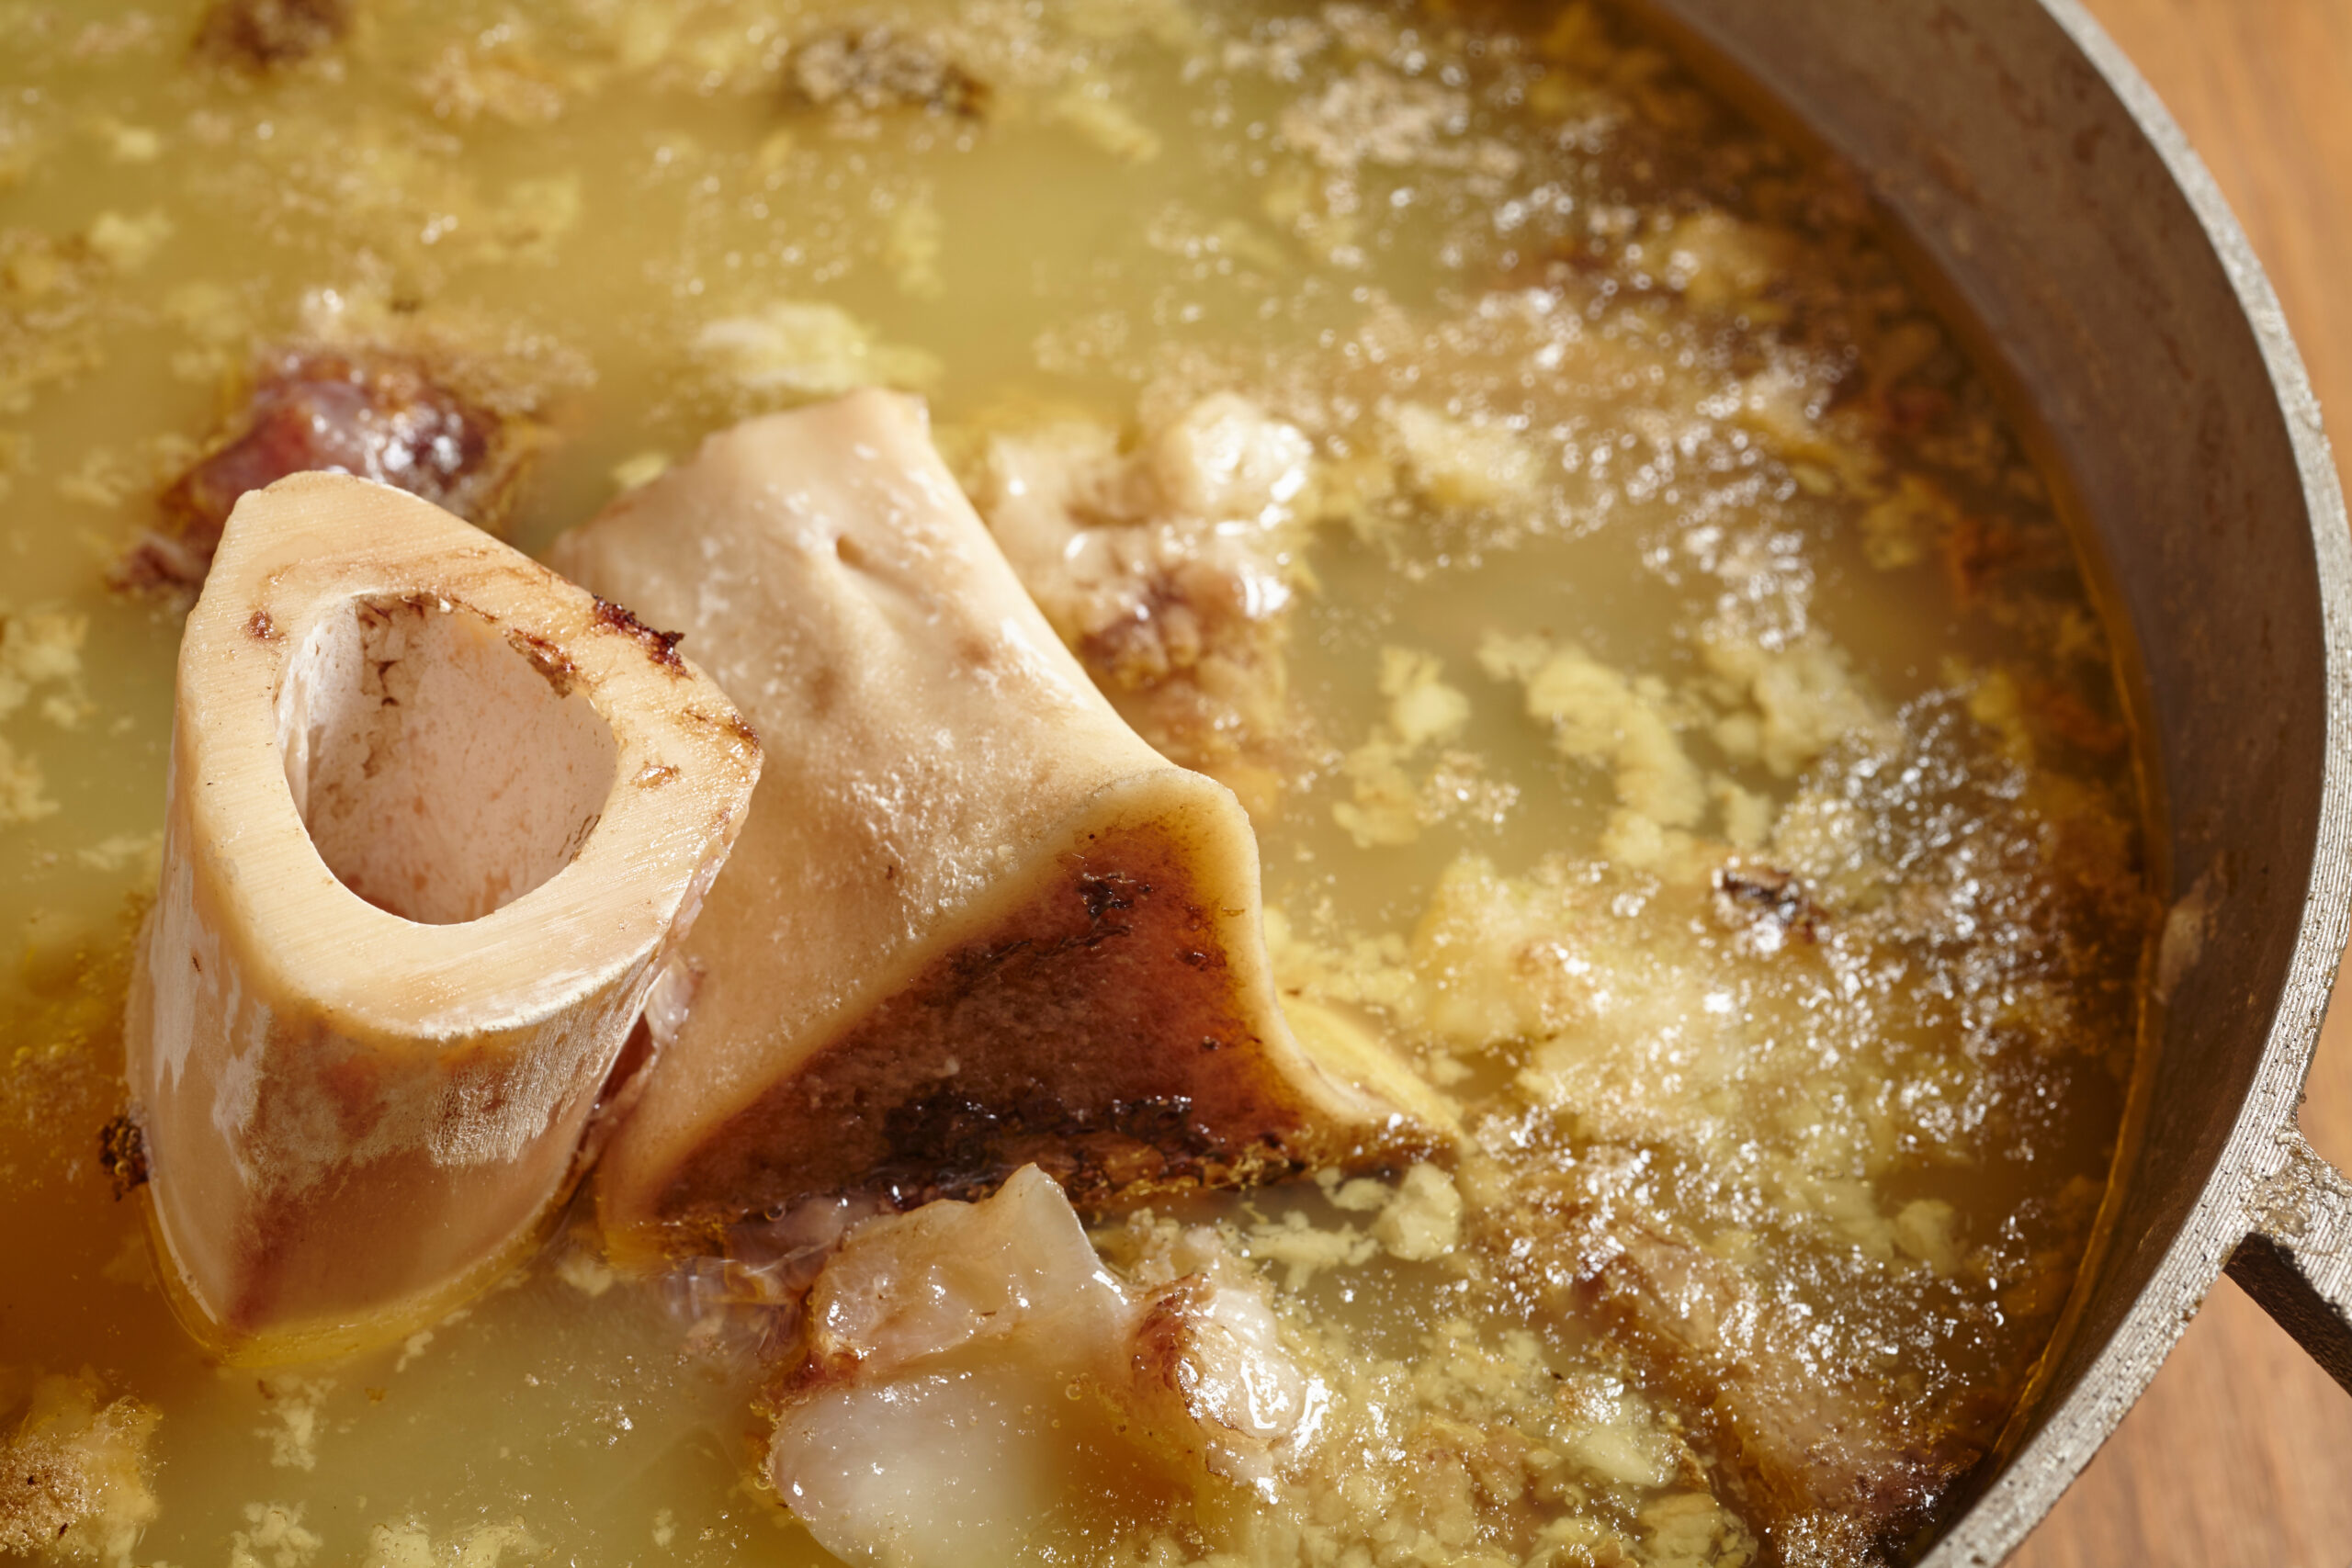
Most wild game chefs agree that roasting venison bones especially adds another rich layer of flavor to the result. This is as simple as placing the bones on a baking sheet or roasting pan and putting them in the oven for 40-45 minutes or until they have a dark rich color. This process can also be used for turkey, pork, duck, and other bones as well—though the time may vary depending on the size of the bone.
While roasting the bones will leave you with a darker broth at the end, if you’re aiming for a clearer and more clean tasting stock, you’ll want to blanch your bones instead by placing them in boiling water and allowing them to simmer for about 20 minutes.
Once your bones are prepped, it’s time to throw them into a large stock pot with your other ingredients. The beauty of making your own stock or broth is that there are no hard rules as to what you can and cannot add. If your bones and other ingredients can fit in a stock pot and can be covered with water, you’re technically good to go.
However, hunters and gardeners like Hank Shaw agree that when it comes to broth more is more. Hank recommends adding parsnips to venison broth as their sweet flavor brings out the unique taste. He also suggests a hodge-podge of whatever can be found in your garden (or for our urban chefs—the reduced-price produce section at your local grocery store, which is excellent for broth making.)
Choosing your additives for your stock can be based on personal preference and understanding of each ingredient’s flavor. Carrots and onions can add sweetness, chiles and garlic can add spice, rosemary and sage can add earthy tones found in traditional roasts. If you’re looking for a traditional stock list (see what I did there?) go for carrots, celery, onion, garlic, pepper (fresh ground black pepper if you have it) and a little bit of salt (most broths will become salty the longer they brew).
Joking. But many broth recipes will call for acidity such as vinegar or tomato paste. Whether you add these to your stock is mostly a matter of preference, but an acid helps the process of turning collagen into gelatin while you cook. If you are opting for adding an acid, more recipes call for apple cider vinegar but two tablespoons of any vinegar you have on hand would suffice—or two tablespoons of tomato paste (or two of each, such as what’s called for in this recipe from Meateater.)
Once your choice of ingredients is in the pot bring everything to a boil and then reduce to a simmer for a minimum of two hours or as long as you’d like (I personally wouldn’t interrupt my sleep to keep a stock going for more than eight hours, but I know people who would.) You’ll need to stir it occasionally and skim the surface. Once you’re done cooking, you’ll be straining the stock so don’t stress too much about floaters. Use a cheesecloth or mesh strainer to separate the liquids from the solids once done.
Once the broth is strained, you’ll want to let it cool and store it in airtight containers. People favor pressure canning for this but a jar with a storage lid will work fine. Keep the layer of fat on the top of jars that will be stored as it acts as an extra seal keeping bacteria out of your broth. Once cooled you can put excess jars in a freezer for up to 6 months or in your fridge for a few days before use. Before using it, remove the layer of fat you left on before storage.
You may have noticed I used the terms “broth” and “stock” interchangeably throughout this article. And that’s because when it’s homemade there isn’t much of a difference between the two. Store bought stocks will have less salt than broths, and the flavor is noticeable when working with them. Both are made with fat, mirepoix (a mixture of carrots, onions, and celery,), and aromatics (such as peppercorns, rosemary etc.) When making it yourself you’ll have much more control over the flavor, shelf life, and quality; and for recipes you add it to it can be used interchangeably 99% of the time.
As far as what you can make with your bone broth, the question really is: what can’t you make? Bone broth is a great addition to any soup, roast, or stew that calls for broth or stock. You can add it to chili, spaghetti sauces, or gravies. My personal favorite uses for a good broth or stock are adding some vegetables and noodles for a quick and easy ramen (and yes, if you’re on a budget you can add the cheap ramen noodles to a good broth, put a fried egg on top and eat very well — but do not add the flavor packet as the broth has all the flavor you’ll need.) We hope this Bone Broth 101 helps you in your journey to honor every part of your harvest and make some delicious meals along the way.
June 1, 2026 •John N. Felsher